Step into a world where the focus is keenly set on How To Use Snap. Within the confines of this article, a tapestry of references to How To Use Snap awaits your exploration. If your pursuit involves unraveling the depths of How To Use Snap, you've arrived at the perfect destination.
Our narrative unfolds with a wealth of insights surrounding How To Use Snap. This is not just a standard article; it's a curated journey into the facets and intricacies of How To Use Snap. Whether you're thirsting for comprehensive knowledge or just a glimpse into the universe of How To Use Snap, this promises to be an enriching experience.
The spotlight is firmly on How To Use Snap, and as you navigate through the text on these digital pages, you'll discover an extensive array of information centered around How To Use Snap. This is more than mere information; it's an invitation to immerse yourself in the enthralling world of How To Use Snap.
So, if you're eager to satisfy your curiosity about How To Use Snap, your journey commences here. Let's embark together on a captivating odyssey through the myriad dimensions of How To Use Snap.
How to see my memories on snapchat how to check memories on snapchat how to look at snapchat memories how to use snapchat on xbox how to use vlookup how to use chopsticks how to use microsoft teams how to get help in windows how to take a screenshot how to get free robux
How to use Snapchat Memories
How to use Snapchat Memories
Snapchat wants you to hold on to your photos and videos for a little while longer.
The new Memories feature is a searchable and shareable archive of snaps that you can access within the app. Memories backs up snaps to Snapchat's servers and automatically pulls together saved snaps into categories based on location. But you can also search on a keyword, such as food.
How do I get Memories?
Snapchat's new Memories feature has tabs along the top to divide up snaps and stories.
Screenshot by Lexy Savvides/CNET
The first step is to update the Snapchat app for iOS or Android. The Memories feature is rolling out progressively to users over the next month. When the new feature is available for your account, you'll receive a snap from Team Snapchat.
Snapchat's main camera interface now has an extra icon underneath the camera button. Swipe it up to access Memories.
Memories has a series of tabs that let you switch between viewing snaps, stories and the contents of your camera roll.
Making Memories
To make a new memory, create a snap as usual with all the filters and stickers you desire. Then, tap the Save icon like you normally would to download the snap to your camera roll or gallery. Rather than saving to the roll, however, the snap will save to the Memories section.
To create a story from snaps within the Memories section, press and hold on an individual snap, then tap "My Snap" at the top of the screen. From here, tap "Create story from this snap" and select any additional snaps you want to include. Now you can save or send this snap to friends or to the My Story section as you would normally.
Note that if you post a snap to a story that was taken earlier than the past 24 hours, it will have a frame around it with the timestamp.
If you want to import snaps from your camera roll or gallery, go to Snapchat's settings and find Memories. Select "Import Snaps from Camera Roll."
Note that this will only surface actual Snapchats you have previously saved to your phone -- not photos taken with the regular camera app.
For My Eyes Only
Don't want those eggplant photos visible in your Memories section when you pass your phone around? Add them to a section called My Eyes Only.
Press and hold on the snap, tap My Snap, and select "Move to My Eyes Only." Snapchat will prompt you for a passcode or passphrase. Once you've set this up, a new tab will appear within Memories that contains these less-than-salubrious snaps for your private viewing pleasure.
So what's backed up?
Any snap you save in your Memories section is saved to Snapchat's servers, so if you log in on another device these snaps are available.
It's important to note that even though you have access to your camera roll or gallery within Memories, these photos and videos are not being backed up on Snapchat's servers.
What if I don't want to use Memories?
Within the Snapchat settings, navigate to the Memories section and find the Saving section. Tap "Save To..." and select "Camera Roll Only." This section also lets you automatically save stories to Memories or set to My Eyes Only by default.
How to see memories in snapchat how to use snapchat how to use snapchat on pc how to use vlookup how to use index match how to take a screenshot how to make slime how to print screen how to delete a page in word
How to use Snapchat Memories
How to use Snapchat Memories
Snapchat wants you to hold on to your photos and videos for a little while longer.
The new Memories feature is a searchable and shareable archive of snaps that you can access within the app. Memories backs up snaps to Snapchat's servers and automatically pulls together saved snaps into categories based on location. But you can also search on a keyword, such as food.
How do I get Memories?
Snapchat's new Memories feature has tabs along the top to divide up snaps and stories.
Screenshot by Lexy Savvides/CNET
The first step is to update the Snapchat app for iOS or Android. The Memories feature is rolling out progressively to users over the next month. When the new feature is available for your account, you'll receive a snap from Team Snapchat.
Snapchat's main camera interface now has an extra icon underneath the camera button. Swipe it up to access Memories.
Memories has a series of tabs that let you switch between viewing snaps, stories and the contents of your camera roll.
Making Memories
To make a new memory, create a snap as usual with all the filters and stickers you desire. Then, tap the Save icon like you normally would to download the snap to your camera roll or gallery. Rather than saving to the roll, however, the snap will save to the Memories section.
To create a story from snaps within the Memories section, press and hold on an individual snap, then tap "My Snap" at the top of the screen. From here, tap "Create story from this snap" and select any additional snaps you want to include. Now you can save or send this snap to friends or to the My Story section as you would normally.
Note that if you post a snap to a story that was taken earlier than the past 24 hours, it will have a frame around it with the timestamp.
If you want to import snaps from your camera roll or gallery, go to Snapchat's settings and find Memories. Select "Import Snaps from Camera Roll."
Note that this will only surface actual Snapchats you have previously saved to your phone -- not photos taken with the regular camera app.
For My Eyes Only
Don't want those eggplant photos visible in your Memories section when you pass your phone around? Add them to a section called My Eyes Only.
Press and hold on the snap, tap My Snap, and select "Move to My Eyes Only." Snapchat will prompt you for a passcode or passphrase. Once you've set this up, a new tab will appear within Memories that contains these less-than-salubrious snaps for your private viewing pleasure.
So what's backed up?
Any snap you save in your Memories section is saved to Snapchat's servers, so if you log in on another device these snaps are available.
It's important to note that even though you have access to your camera roll or gallery within Memories, these photos and videos are not being backed up on Snapchat's servers.
What if I don't want to use Memories?
Within the Snapchat settings, navigate to the Memories section and find the Saving section. Tap "Save To..." and select "Camera Roll Only." This section also lets you automatically save stories to Memories or set to My Eyes Only by default.
It's no secret Snapchat is confusing to use. In fact, when Snap, the social media app's parent company, released its IPO filing documents earlier this month, the app's confusing user interface was listed as one of the risk factors for investors.
Lo and behold, on Friday, Snap released the user manual many bewildered Snapchatters (or their parents) have been asking for. It came in the form of a video, labeled "Snapchat Product Overview," in its "roadshow" materials -- the stuff it uses to convince potential investors to buy in.
"Making a Snap is simple," a friendly-voiced narrator says in the video as he takes more than eight and a half minutes to explain the app.
Among the things the video covers: how to record a video, how to use lenses and how to use a geofilter.
Watch the whole thing here.
CNET Magazine: Check out a sampling of the stories you'll find in CNET's newsstand edition.
Batteries Not Included: The CNET team shares experiences that remind us why tech stuff is cool.
Cheaper, richer, tastier coffee: How to roast your own beans at home
Cheaper, richer, tastier coffee: How to roast your own beans at home
For many, coffee isn't just a luxury, but a habit that adds structure and satisfaction to the daily routine. With states mandating you to stay inside most of the day and even Starbucks stores closing to foot traffic, chances are you're making more coffee yourself. Now's the chance to uplevel your skills and consider roasting your own coffee right at home.
Raw coffee lasts for years on the shelf, yet still retains its flavor. It's only when you introduce intense heat through the roasting process that the powerful coffee essence unlocks, and then begins to slowly fade. But if you roast your own beans, you can stock up in bulk on raw product and roast only as much as you need in the short term. In some ways, it's the perfect quarantine staple.
Plus, freshly roasted coffee is outrageously delicious compared with the standard store-bought variety that's typically months old, even the whole roasted beans.
Unroasted, or green, coffee costs less, too, so you'll save money in the long run. In fact, you can get your hands on green coffee for as little as $4 to $5 a pound. Sure, the idea of home roasting might sound intimidating at first, but the payoffs are huge. Here's how to get started.
These are raw, or green, coffee beans that have not been roasted.
Tyler Lizenby/CNET
From raw to roasted coffee
With enough heat energy applied to green coffee, the hard structure of a bean breaks down to release its complex mixture of contents. This cocktail includes everything from water to sugars, proteins, fats and, yes, caffeine.
The high temperature of roasting chemically alters many of these compounds (such as by caramelizing sugars and oxidizing lipids, proteins and starches), and ultimately creates what we expect to see, smell and taste in freshly roasted coffee.
Read more: The best espresso machine for 2020
Gather the tools and hardware you need for this project.
Tyler Lizenby/CNET
Build a backyard roaster
You can build a coffee roaster easily from inexpensive items you can buy at a hardware or kitchen supply store. Here's a list of the parts I used.
To begin, drill a hole through the center of the base of each colander with a three-eighths-inch metal drill bit. Next, spin one nut and one wing nut onto one end of the threaded rod (go about halfway) and from the opposite side, slide one washer down the rod. Then, slide one of the colanders onto the rod through its drilled hole, next to the washer, with the open side up. Follow with another washer and two regular nuts, and tighten all nuts so the colander stays fixed in place.
In the same way, attach the other colander to the rod so that the rims of the bowls face each other. Leave a 6-inch gap between the two vessels, hold the rod vertically and add your green coffee to the lower colander. It's a 5 quart model with plenty of room for the 1 pound batches I suggest you roast. Finish by slipping the second colander down to close the gap and securely tighten the nuts.
The roaster you've constructed should rest above the burners and be able to spin freely around its threaded rod.
Tyler Lizenby/CNET
Prepare your barbecue
I suggest using a gas grill to roast coffee. These grills have responsive burners powered by propane. That makes their internal temperature easier to control compared with charcoal grills. Begin by removing your grill grates, heat diffuser (bars or pan) and warming rack. If your grill has a slot for a rotisserie accessory, use this opening to place the threaded rod across the burners. If not, lay the rod across the hood's sides with the hood open. (Many grill hoods have sections cut out of their sides to make room for accessory mounts when closed. Line the rod up to match these gaps.)
Your roaster should now be suspended and centered over the barbecue's burners. To spin the apparatus, connect an electric drill to one end of the roaster's rod as if it were a drill bit and tighten the drill's chuck jaws around it.
Use a cordless drill as a motor to rotate your roaster.
Brian Bennett/CNET
An adjustable hose clamp wrapped around the drill's trigger is a simple way to apply steady pressure and spin the roaster drum at a constant rate. Aim for 120 rpm (I count revolutions for 30 seconds and then double the number).
That's quick for a rotisserie motor (10 to 55 rpm) but easy for a power drill (600 to 1,500 rpm). The goal is to mix the beans quickly enough so heat hits them evenly, yet slowly enough to minimize stress on the drill and avoid loosening any nuts and washers.
Fill your roaster with raw coffee beans.
Tyler Lizenby/CNET
Roast, baby, roast
How long any given roasting session will take can vary greatly depending on factors like the coffee variety, how hot your roaster gets and whether you'd like a light, medium or dark roast. As a general guide, expect a small batch of beans (1 pound or less) to take about 10 minutes.
Fire up your grills burners and start roasting.
Tyler Lizenby/CNET
Start by firing up the grill and turning the burners up to maximum. Close the hood to let the grill cavity warm up and when the grill thermometer hits 400 degrees Fahrenheit, turn the burners down to medium. Next, add green coffee to the drum, tighten the two colander halves together, carefully set the rod in place and start spinning.
Now you're ready to close the hood while keeping your ears, nose and eyes peeled to monitor what's going on inside. It's OK to take a few quick peeks, but open the hood too many times and you risk losing vital heat. Ideally, you want to keep temperatures in the roaster consistently between 400 and 500 degrees Fahrenheit. Since it's difficult to mount a heat sensor inside a spinning roaster, just use your grill's built-in thermometer instead.
Pay close attention to what you see, hear, and smell as the beans roast.
Tyler Lizenby/CNET
Listen out for the pop and don't burn your beans
The first change happens visibly when the beans shift from a muddled green to yellow to a darker golden hue. As the beans' internal temperature approaches and exceeds the boiling point of water, steam forms and trapped water vapor fights to escape.
When it finally does, the coffee beans begin to snap with an audible pop. In what's known as the "first crack," the beans split open down their middle and swell in size. At this point your beans are technically roasted, but they'll have a bright acidity on the edge of sourness. Drinking coffee from this roast level is perfectly fine, but to develop a traditional coffee flavor, you must go a little further.
Roasting coffee beans definitely creates a lot of smoke. That's why it's best to do this outdoors.
Tyler Lizenby/CNET
As the temperature climbs higher (435 to 445 Fahrenheit) fats, sugars and proteins break down. The beans are now roasting in earnest. Be careful at this stage because the pace of these reactions will speed up. If you're not paying close attention, you'll end up with burnt beans in no time.
As gases including CO2 (carbon dioxide) form, they cause another round of sustained snaps called the "second crack." The beans will then release oils giving them a shiny, glossy look. Roast longer and the beans will darken further to dark brown, even bordering on black. This creates dark roasts such as French roast.
Transfer the just-roasted coffee beans to another vessel. An extra metal colander will do the trick.
Tyler Lizenby/CNET
Cool things down
Once you've reached your desired roast level, turn off the grill and gas and quickly transfer the roasted coffee beans from the roaster to a metal oven sheet pan. Remember to use heat-resistant gloves or oven mitts to handle the apparatus.
Set the pan and contents aside for 24 hours to let the beans cool. As long as they're not smoking you can do this inside. Technically you can brew coffee from these beans. However, it's best to hold off for another 24 hours. Freshly roasted coffee typically gives off CO2 gas that can create funky flavors. Finally, preserve your roast by storing it in an airtight container, a special valve bag or at least a zip-closure pouch.
Brew, sip and tweak
Congratulations! You've turned raw green coffee into the essential ingredient for brewing a uniquely delicious beverage. Of course, you'll need a quality brewer and grinder to harness all that coffee flavor. And if the joe you've made isn't to your liking, there are a ton of ways to tweak the roasting process for an outcome more to your tastes.
Even with the same coffee variety, changing the roast level will greatly alter the flavors that ultimately land in your cup. And just wait until you start experimenting with beans and blends sourced from exotic locales. Better hold onto your mug.
For more tips to brew better coffee at home or fun projects to help pass the time while in self-quarantine, check out how to make wine in your Instant Pot, how to keep bread from going stale and cleaning your oven without harsh chemicals.
Snapchat custom emoji ideas friend emoji ideas for snapchat snapchat friend emoji list snap chat emoji people snapchat friend emoji ideas what do the snapchat emojis mean 3956921 all emoji meanings on snapchat emoji next to snapchat snapchat emoji meanings snapchat sign up create account
Snapchat's emoji pins are crazy fun. Here's how to use them
Snapchat's emoji pins are crazy fun. Here's how to use them
Snapchat sensed you might be getting bored with swapping faces, so you can now stick emojis on moving objects in your Snapchat videos instead.
You've always been able to add emojis to your photo or video snaps, but now those emojis can move along with whatever face -- or thing -- you tie it to.
The end result makes something like this possible:
Fun, right? As you can see with the taco emojis (below), the emoji pins don't have to cover the selected object -- they can move around it too.
How to use Snapchat's emoji pin feature
To pin an emoji in Snapchat, record a video, ideally one that focuses on a moving object. It could be someone dancing or a dog running around (see above). Once you're happy with the video, tap the emoji icon at the top of the preview screen and select the one you want to use.
Twitter user @NoPattern used the new feature to fill his world with emoji tacos.
Twitter user @NoPattern.
I suggest re-sizing the emoji at this point. Once you pin it, it's harder to re-size it without having to re-pin. Next, long press on the emoji until the video pauses. Drag the emoji to the item you want it to follow. Snapchat will reload the video, and the emoji should follow along.
In testing, it's taken me a few tries to get Snapchat's tracking feature to work properly. I captured another video which started with my dog further away, but Snapchat couldn't track him until he got much closer. The new feature is easiest to use on videos that feature objects moving closer to the camera.
While you're learning new Snapchat features, read about the five hidden features that every Snapchat user needs to try.
If you live in an area where temperatures dip below the freezing point, it's important to prepare for cold weather and take preventive steps to keep your pipes from bursting.
Burst pipes are not only frustrating, but they're also expensive. Depending on the severity of the problem, unfreezing and fixing burst pipes can cost more than $1,000. Fortunately, there are several simple strategies you can adopt to avoid this issue. Below, we've included six tips to help your pipes stay freeze-free this winter.
1. Cover exposed pipes
When your water supply pipes are exposed, they're more susceptible to freezing and bursting -- especially if they're located along exterior walls or in unheated spaces like your basement or attic. To prevent this, it's a good idea to protect your pipes with insulation.
Covering your exposed plumbing is one of the cheapest and easiest ways to prevent burst pipes. Your local hardware store will have several different materials that you can use to insulate your pipes, including foam and fiberglass insulation. You can even use newspaper to cover your exposed pipes if you live in a place where freezing temperatures only happen on occasion.
2. Insulate unheated areas
When you have plumbing running through an unheated basement, attic, garage or crawl space, the pipes don't get as much warmth as they would in a heated bedroom or living room. By insulating the unheated areas in your home, your pipes will stay warmer and be less likely to burst. Plus, well-insulated homes contain heat more effectively, which can save you money on winter heating bills.
If you're the DIY type, you should be able to add insulation on your own. Otherwise, you can hire a professional to do it for you. Either way, it's a cost-effective and energy-efficient way to protect your pipes and keep your home at a comfortable temperature.
Jon Skillings/CNET
3. Keep a tap running on cold days
You might be surprised to find out that something as simple as running a tap can help prevent frozen pipes. But in reality, it's one of the most effective things you can do. You don't need to leave your tap running at full blast, but make sure you've at least got a slow drip.
For the best results, choose the faucet that's furthest away from your water source. Doing this will force the water to run through a large portion of your plumbing system, keeping it active and less likely to freeze. Similarly, if you have any taps that are served by exposed pipes, it's a good idea to keep them trickling as well.
4. Open bathroom and kitchen cabinet doors
Another small (but useful) strategy to prevent burst pipes is to open the cabinet doors under your kitchen and bathroom sinks. By doing so, the heated air from your home will start to circulate beneath your cabinets and warm up your pipes.
It's particularly important to open your cabinet doors if they're located along an exterior wall of your home. As you might expect, pipes in these areas are more likely to freeze since they're closer to the cold outdoors.
5. Don't adjust your thermostat
You may be familiar with the Department of Energy's recommendation to adjust your thermostat during the winter to save energy, but that guidance doesn't apply during a cold snap.
Instead, you should keep your thermostat at a constant temperature throughout the day and night. Doing this will help your pipes stay warmer, making them less likely to freeze and burst. Plus, maintaining a steady temperature will put less stress on your furnace, which is important during periods of extreme cold.
6. Seal leaks and drafty areas
Our final tip to prevent burst pipes this winter is to patch up drafty areas in your home. When you have gaps or leaks between the inside and outside of your home, it's possible for cold air to come in, lower the temperature around your plumbing and cause your pipes to burst.
The good news: it's easy to seal these leaks. Get started by taking a quick walk around your house and looking for any places where air could sneak in, including window and door frames, electrical wiring and dryer vents. Once you've identified the problem areas, use insulation or caulk to seal them up.
The bottom line
Even if home maintenance isn't your strong suit, you should be able to tackle all of these repairs in a single weekend. It may seem inconvenient, but making these minor upgrades is a small commitment that can prevent serious headaches and expensive repairs in the future.
Snap unveils pixy a 230 pocket size flying camera drone snap unveils pixy a 230 pocket size flying camera crossword snap unveils pixy a 230 pocket size flying camera company snap unveils pixy a 230 541 snap unveils pixy a 2300s snap unveils pixy anime snap unveils pixy arduino snap unveils definition snap unveils spring
Snap Unveils Pixy, a $230 Pocket-Size Flying Camera Drone
Snap Unveils Pixy, a $230 Pocket-Size Flying Camera Drone
What's happening
Snap unveiled Pixy, a $230 pocket-size flying camera drone that can follow you around.
Why it matters
It's another example of how social media companies are getting more serious about releasing consumer hardware.
What's next
Pixy goes on sale Thursday in the US and France.
Snapchat has a new way for people to capture photos and videos: a flying camera drone called Pixy that fits in the palm of your hand.
The drone goes on sale Thursday on Pixy.com in the US and France, with the price starting at $230. Snap said drones pre-ordered will start to arrive by the end of May. Photos and videos captured on the drone will get downloaded into Snapchat Memories, where users are able to store content for later use.
Pixy is another example of social media companies experimenting with consumer hardware products. Though Snapchat parent company Snap is known for the ephemeral-messaging app, Snap calls itself a camera company. Last year, Snap unveiled its latest pair of Spectacles, AR glasses that let creators overlay digital images onto their view of the real world. There have been rumors for years that Snap has been working on a selfie drone.
Snap unveiled Pixy at its fourth annual Partner Summit, an event the company is streaming online on Thursday.
To use the drone, people press a button and select one of several flight paths: hover, orbit, reveal, favorite and follow. If you select follow, for example, Pixy will follow you around as you go on a hike or walk around a city. Pixy will automatically take photos and videos during flight, but users can program Pixy to only take only videos. The drone will float in the air and capture images before flying back to the palm of your hand.
"Pixy is ready to fly at a moment's notice. There are no controllers. There's no complex setup. Simply set a flight path and let Pixy take it from there," Snap CEO Evan Spiegel said in his keynote remarks, which was viewed by CNET before the conference.
Snap will have to convince its users to capture photos and videos on a product that hasn't become mainstream yet. There are products similar to Pixy for purchase that are also cheaper, such as Air Neo from AirSelfie, which costs $150, and more expensive drone cameras made by DJI.
A Snapchat spokesperson said there are two flight packs available to buy online. The base flight pack costs $230 and comes with a bumper strap to carry the drone, a charging cord and a battery. There's also a bundled flight pack that costs $250 that includes everything in the base pack but also includes additional rechargeable batteries and a charger.
A battery costs $20 and a charger costs $50. The guide for Pixy doesn't say how much time the battery lasts, but it says it will allow you to capture content over five to eight flights. With 16GB of flash storage, Pixy can store up to 1,000 photos or up to 100 videos. The product is lightweight at 101 grams. Video is shot at 2.7K and the camera is 12 megapixels.
Videos shot on Pixy don't capture sound, but users will be able to edit the footage on Snapchat to include music, a voice-over and other effects.
Pixy also isn't water resistant and might not be able to complete its flight paths if there's too much wind. People are also advised to avoid using the drone over water, near highly reflective surfaces or where there's an abrupt change in elevation, such as a cliff or balcony.
Snapchat has more than 600 million monthly users and more than 330 million daily active users worldwide, the company said.
Your teflon cookware could be toxic here s how a charitable your teflon cookware could be toxic here s how shiba inu your teflon cookware could be toxic here s to the ones that we got your teflon cookware could be toxic here s looking at you kid quote your teflon cookware coating your teflon don your teflon sheet your teflon washers your teflon definition
Your Teflon Cookware Could Be Toxic. Here's How to Tell
Your Teflon Cookware Could Be Toxic. Here's How to Tell
This story is part of Home Tips, CNET's collection of practical advice for getting the most out of your home, inside and out.
Teflon is one cookware surface with a good deal of fuzziness around it. Many folks I talk to want to know if nonstick and Teflon-coated cookware is safe to use. The answer is mostly yes, these days, but it's not quite that simple.
Nonstick coating is a popular choice, especially for frying pans and skillets. But there are also Teflon-coated pots, bakeware, air fryer baskets and plenty more. The big draw is, of course, that food won't stick to it the way it does to other metal materials so it's easy to flip a pancake or extract an egg. It also makes cleanup a snap.
One downside is that nonstick cookware doesn't impart a ton of direct surface heat hot, so you won't be able to sear meat well and get that coveted crispy crust or seal in flavor. It's also sensitive, and the nonstick coating will chip off and wear out over time. But the biggest worry people have when it comes to Teflon and nonstick cookware is whether or not it's safe to use or potentially toxic.
Here's what you should know about Teflon, and how to tell if your nonstick pan is good to go or needs to be replaced.
Read more: A Guide to Nonstick Cookware
What is Teflon, and is it safe to cook with?
Teflon is a brand name for a synthetic chemical called polytetrafluoroethylene that's used in many household products from wire coatings to fabric protectors and kitchen cookware, too. The knock on Teflon is that it's unsafe if consumed or absorbed into the body and can increase the chances of cancer and other diseases. While studies have shown some connections (more on that below), Teflon still exists and is used to make cookware, but the safety concerns around Teflon are mostly a thing of the past.
And I stress mostly. Here's why…
While the brand Teflon may be associated with a risk of cancer, it's actually a chemical formerly used in the making of Teflon called PFOA that's to blame. According to the Centers for Disease Control and Prevention, perfluorooctanoic acid, or PFOA, is a manufactured perfluorochemical developed in the 1930s and used to make fluoropolymer coatings and products that resist heat, oil, stains, grease and water.
Thanks to a federal ban, all Teflon and nonstick cookware made after 2013 should be free of harmful PFOA. Europe enacted the same ban in 2008.
Home and Cook
What are the negative effects of PFOA?
In some studies, PFOA has been linked to cancer, immune deficiency and a host of other medical problems. It has also been shown to affect growth and development, and injure the liver in laboratory animals.
As recently as 2017, chemical giant Dupont settled a lawsuit for more than $670 million for its role in contaminating drinking water with PFOA (also referred to as C-8) in the mid-Ohio Valley. A previous class-action suit from 2004 in the same area led to a study that found PFOA was linked to cancer and compromised immune function, even in small doses.
Teflon cookware made before 2013 may be toxic
All that was enough for most manufacturers to halt the production of nonstick coatings using PFOA around 2002. But Teflon using PFOA wasn't officially banned in the United States until 2014. Europe banned it in 2008. That means if you own Teflon nonstick cookware from 2013 or earlier, there's a chance it contains PFOA. Nine years is typically longer than the average lifespan of a nonstick pan, but if you're not sure, it's probably best to replace any Teflon-coated pots or pans.
Look for PFOA-free cookware
Because of the ban, all nonstick cookware made in the US should be PFOA-free, but you'd be wise to make sure. Be extra cautious about buying cheap or off-brand cookware, especially if it's not produced in a country with an active PFOA ban. PFOA is still produced elsewhere, largely in China, and used to make consumer products.
The good news is PFOA-freenonstick cookware is cheap, so there's no reason to risk it with anything that might contain the chemical. You can nab a 10-inch skillet from a trusted cookware brand like Tramontina for around $20. All-Clad makes a two-piece nonstick cookware set for $50. Definitely worth it for peace of mind.
Read more: Best Nonstick Frying Pans, Tested and Reviewed
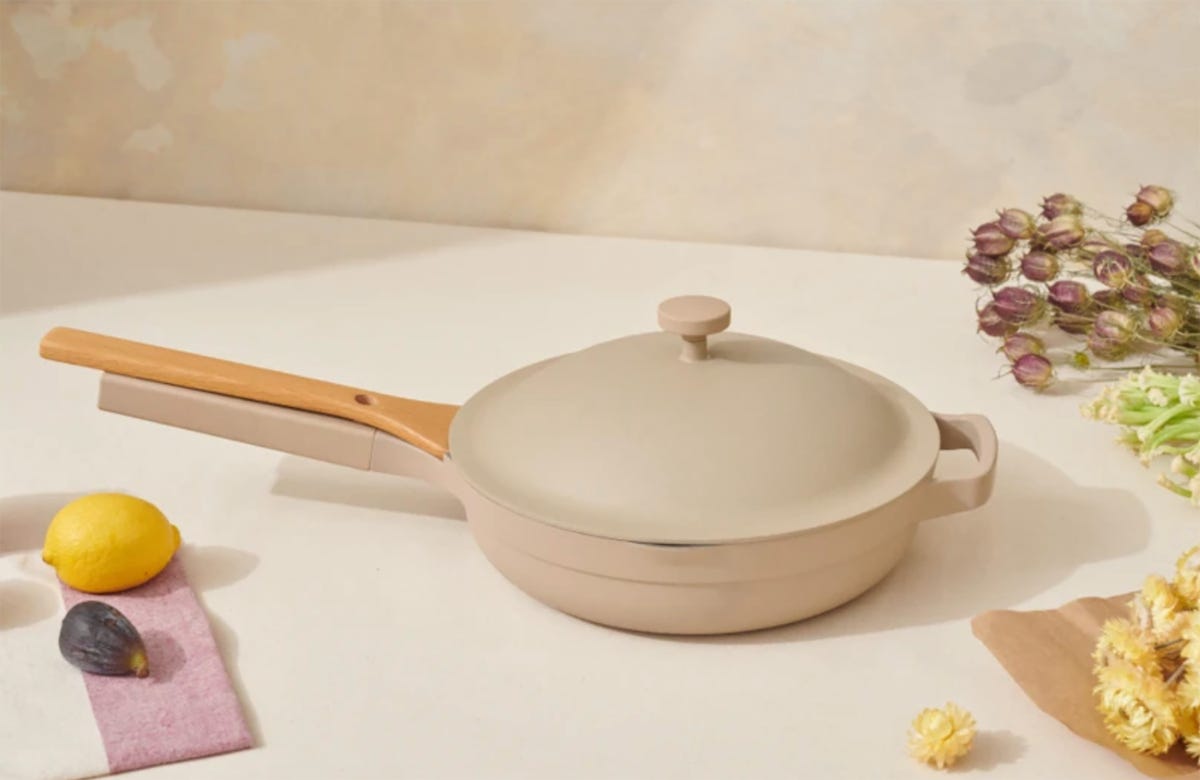
The Always Pan is a nonstick ceramic alternative to Teflon cookware.
Our Place
The best natural nonstick cookware alternatives
If you're ready to ditch Teflon and chemical-based nonstick pots and pans altogether, there are plenty of more natural nonstick alternatives.
The most nonstick of the bunch is ceramic cookware, which has seen a boom in popularity since concerns about Teflon first surfaced. A few popular ceramic cookware options include The Always Pan (read my full review here), Caraway and Greenpan.
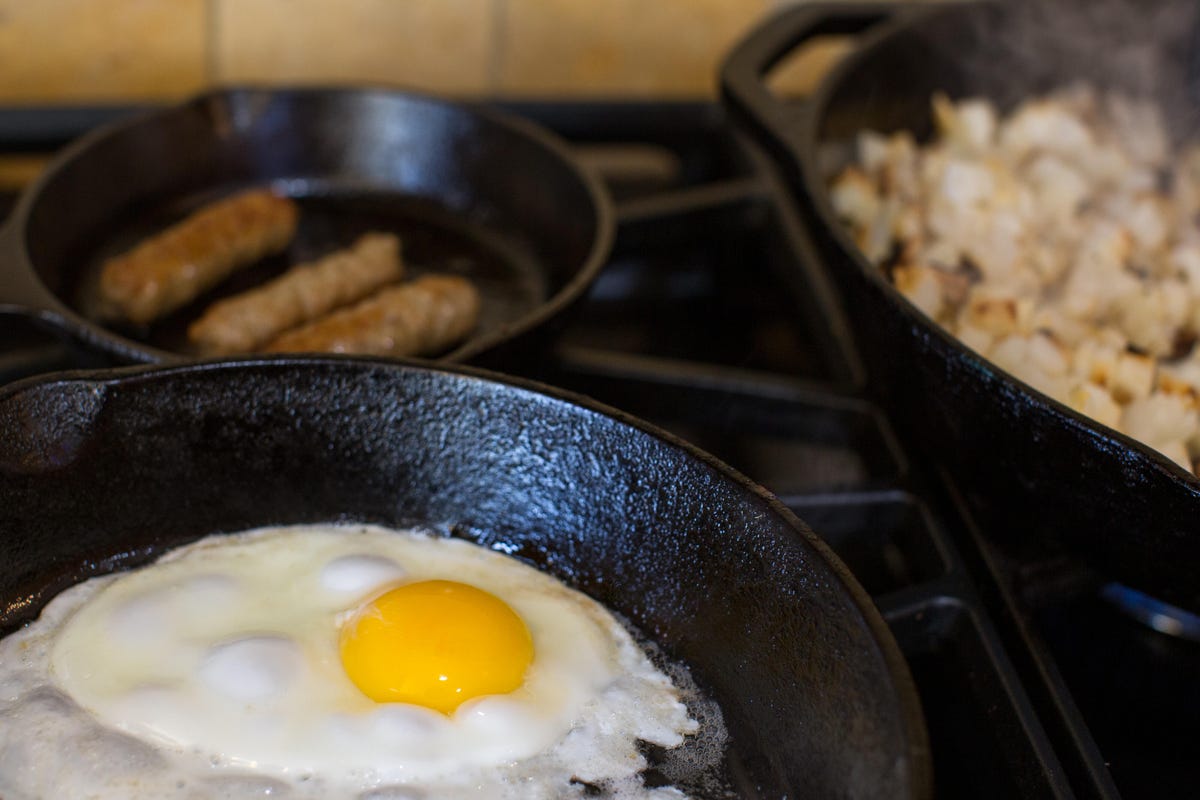
Cast iron is another cookware material that develops a natural nonstick coating over time, especially if you season it well and care for it properly. It won't likely ever become as nonstick as Teflon, but cast iron has loads of other culinary benefits that are worthy of a few extra seconds scrubbing in the sink after use. Lodge is a tried-and-true cast-iron cookware producer: You can scoop up a 10-inch skillet for as little as $24.
Cast iron develops a nonstick patina over time and is a natural alternative to Teflon.
Angela Lang/CNET
Carbon steel is yet another option and functions similarly to cast-iron cookware, although it's not quite as heavy, slightly more sensitive to corrosion and typically more expensive. Carbon steel hasn't really popped off here in the US but is a favorite of professional chefs, as well as yours truly. Cookware startup Made In produces an excellent blue carbon steel skillet for around $80, but there are cheaper options out there.
Dalgona coffee recipe how to make the best dalgona coffee recipe how to make the world dalgona coffee recipe how to make the perfect dalgona coffee recipe how to bake dalgona coffee recipe how to saute best dalgona coffee recipe dalgona coffee without instant coffee keto dalgona coffee
Dalgona coffee recipe: How to make the whipped coffee the internet loves
Dalgona coffee recipe: How to make the whipped coffee the internet loves
More than a year after it became wildly popular online, dalgona coffee is still beloved all over the internet. This cold whipped coffee drink is an Instagram, YouTube and TikTok sensation and was inspired by a South Korean honeycomb toffee of the same name. It's sweet, smooth and will make you forget all about running out to grab a latte.
The basic recipe includes a mere five ingredients -- instant coffee, sugar, water, milk and ice -- and is easy to prepare at home by yourself or with your kids. The beauty of this beverage is that it's open to dozens of variations. Decaf versions won't keep you up all night. Oat milk and coconut sugar work just as well as the standard dairy and sweetener. Lemon zest and mint can jazz up the milk. You can even add a shot of booze and extra caffeine.
There are just a few things we wouldn't recommend. Cocoa powder doesn't sub in well for instant coffee. If you place the dalgona foam on a hot drink, it'll melt. And we don't recommend our colleague's version topped with bologna.
For more coffee drinks, here's how to make yourself a cup of drip coffee or the best iced coffee ever . If you're feeling especially ambitious, here's how to make your favorite Starbucks coffee drinks at home.
Read more:Best coffee maker to buy in 2021
For the basic dalgona coffee recipe, all you'll need is:
1 tablespoon of instant coffee or instant espresso
1 tablespoon of granulated sugar
1 tablespoon of water
milk (dairy or nondairy will work equally well here)
Add the instant coffee, sugar and water to a bowl and whisk vigorously (or use a hand blender if you have one to make it a much easier process) until the mixture becomes superthick -- it should hold a similar consistency to whipped cream with somewhat stiff peaks -- and turns a subtle golden-brown color.
Read more: The best coffee accessories of 2021
Pour milk into a glass filled with ice cubes, then scoop the pillowy mixture on top of the cold milk or mix the two parts together if you're looking for more of a latte situation.
You can also dress it up with variations, like mint in the milk layer, or dalgona coffee foam over a different beverage -- like iced coffee or cold chocolate milk -- or even sprinkles on top. It's a fun, lighthearted drink, so have fun with it.
Snap a photo (or video the entire thing) and post it online so that you, too, can join the ever-growing dalgona coffee community.
Read more: These coffee makers keep the cold brew flowing at home
A version of this story was previously posted on Chowhound.