Step into a world where the focus is keenly set on How To Change Your Windows 10 Password. Within the confines of this article, a tapestry of references to How To Change Your Windows 10 Password awaits your exploration. If your pursuit involves unraveling the depths of How To Change Your Windows 10 Password, you've arrived at the perfect destination.
Our narrative unfolds with a wealth of insights surrounding How To Change Your Windows 10 Password. This is not just a standard article; it's a curated journey into the facets and intricacies of How To Change Your Windows 10 Password. Whether you're thirsting for comprehensive knowledge or just a glimpse into the universe of How To Change Your Windows 10 Password, this promises to be an enriching experience.
The spotlight is firmly on How To Change Your Windows 10 Password, and as you navigate through the text on these digital pages, you'll discover an extensive array of information centered around How To Change Your Windows 10 Password. This is more than mere information; it's an invitation to immerse yourself in the enthralling world of How To Change Your Windows 10 Password.
So, if you're eager to satisfy your curiosity about How To Change Your Windows 10 Password, your journey commences here. Let's embark together on a captivating odyssey through the myriad dimensions of How To Change Your Windows 10 Password.
Showing posts sorted by relevance for query How To Change Your Windows 10 Password. Sort by dateShow all posts
Showing posts sorted by relevance for query How To Change Your Windows 10 Password. Sort by dateShow all posts
How to Change Your Windows 11 Wallpaper in 5 Easy Steps
How to Change Your Windows 11 Wallpaper in 5 Easy Steps
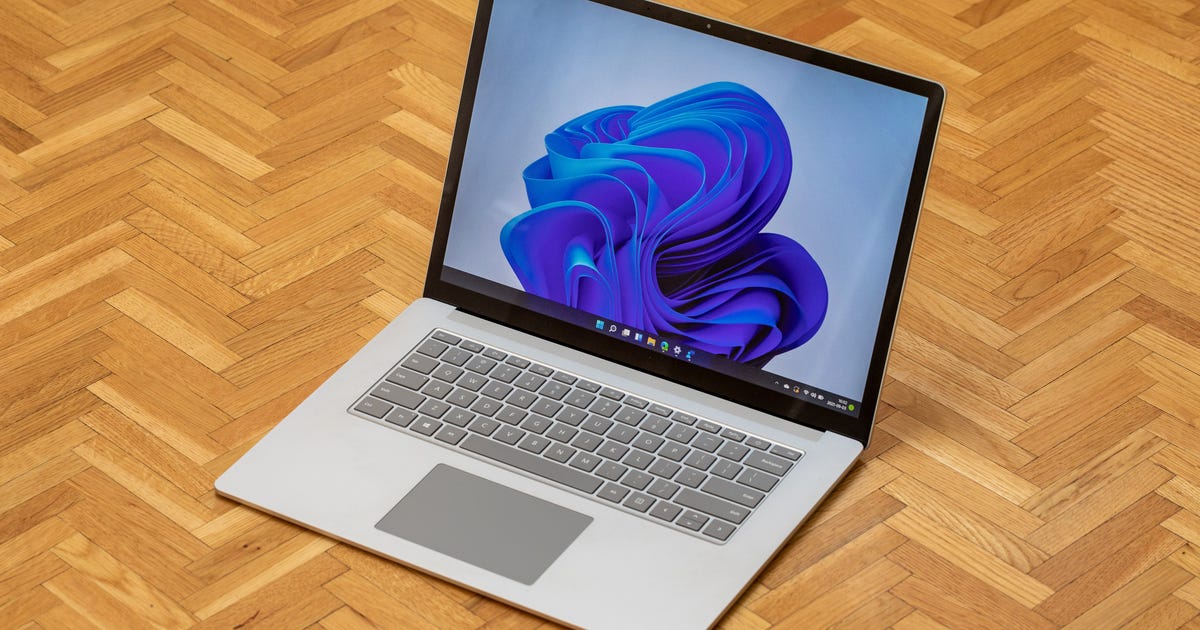
Microsoft's Windows 11 operating system came with a ton of new features like Android apps on your Windows PC, natively supporting Microsoft Teams and a cleaner, more Mac-like design. But Windows 11 also gives you options for new wallpaper.
If you're not a fan of Microsoft's new default wallpaper -- a blooming, abstract flower shape that pays homage to Windows 10's royal blue colors -- you can change it up. Windows 11 has other default images, or you can change your wallpaper to a photo you've saved or uploaded to your PC.
Read more:Windows 11 is Familiar but Fresh
We'll show you how to switch your wallpaper to a background you're fond of with just a few steps. You can also create virtual desktops and a breakdown of our favorite features. This story was recently updated.
The default Windows 11 wallpaper features an abstract blue swirl design.
Microsoft/Screenshot by Sarah Tew/CNET
Once you have access to Windows 11, here's how to change your wallpaper:
1. Click the on-screen Windows button or press the Windows button on your keyboard.
2. Click Settings.
3. Go to Personalization.
4. Choose Background.
5. Select an already available image or click Browse to search for an image you've saved to your PC.
Changes to the default wallpaper only scratch the surface of the design and feature changes found on the Windows 11 desktop. For example, you'll also find ways to customize your Windows 11 desktop with widgets, virtual desktops and Snap Group layouts.
For more, check out the big changes between Windows 10 and Windows 11 and where you can find the new Start menu.
Windows upgrade from 7 to 10 can you upgrade windows 7 to 10 can i upgrade windows 7 to 10 windows 7 to windows 10 upgrade steps windows 10 from 7 upgrade windows 7 to 10 upgrade tool windows 7 to 10 upgrade tool
Windows 7 to 10 upgrade: Seriously, here's why you need to update
Windows 7 to 10 upgrade: Seriously, here's why you need to update
It's been almost two years since Microsoft officially ended support for Windows 7 in January 2020. The end shouldn't have come as a surprise to Windows users: Microsoft promised 10 years of product support for Windows 7 when it was released in October 2009, before shifting focus to supporting newer technologies, like Windows 11.
That means Microsoft no longer offers technical assistance or software updates to your device, and the company encouraged people to upgrade to Windows 10 to keep their PCs and laptops secure. (If you're a Windows 8.1 user, extended support for that OS won't end until January 2023.) But don't worry -- you can still use this trick to download Windows 10 for free if you want to. And with Windows 10, you can upgrade to Windows 11 for free.
Keep reading for everything you need to know about the end of Windows 7 support, and how to make the switch to Windows 10.
The customizable Start menu on Windows 10.
Nate Ralph/CNET
Read more: How to download Windows 10 for free
Why did Microsoft end support for Windows 7?
Microsoft has a long-established Fixed Lifestyle Policy for many of its products. For each version of its OS, the company offers a minimum of 10 years of support (at least five years of Mainstream support, followed by five years of Extended support). Both types include security and program updates, self-help online topics and extra help you can pay for.
Windows 7 was released in October 2009, so its 10-year life cycle has come to a close. Windows 10 was released in 2015, and extended support for the latest version of the OS is slated to end in 2025.
Read more:New to Windows 10? Here's how long Microsoft will support it
Will my Windows 7 computer stop working?
Your Windows 7 computer will keep working, but Microsoft won't provide security updates or fixes, or technical support for any issues -- leaving your computer at greater risk from viruses and malware that may circulate to take advantage of any flaws that are later discovered.
That's why it's critically important for you to switch to an OS version that Microsoft will still put resources behind.
Read more: Windows 7 support is dead, but these seven security tips will still protect your laptop
Do I have to make the switch to Windows 10?
No one can force you to upgrade from Windows 7 to Windows 10, but you're leaving your devices and potentially your privacy vulnerable if you don't make the jump. Without security updates or fixes, you're putting your computer at risk -- an especially dangerous choice, as many forms of malwaretarget Windows devices.
Windows 10 also has a number of built-in security tools: Windows Defender Antivirus protects against malware and spyware across email, apps, the cloud and the web, while Windows Hello offers a password-free sign-in option to unlock your devices with your face or a fingerprint reader. A Find My Device service can lock and erase your Windows device remotely, or map the location of your device.
Read more:The best antivirus protection of 2021 for Windows 10
Isn't Windows 10 pretty buggy?
Some people have been hesitant to make the switch due to reports of several bugs in earlier versions of Windows 10. But Microsoft has made several changes to its update approach since then. The biggest change came with the May 2019 release, including slower rollouts with additional testing, more options for pausing updates and more disclosure of known issues, so your experience should be smoother.
Many of the issues were due to the fact that updates are happening more frequently, said Gartner Research analyst Steve Kleynhans. "But overall most users seem pretty happy with the OS and like the experience it brings, especially on newer devices," he added.
Read more: 6 simple security changes all Windows 10 users need to make
What's the difference between Windows 7 and Windows 10, anyway?
Besides a suite of security tools, Windows 10 also offers more features. One is the Your Phone app, which allows you to access texts, notifications and apps from your phone using your PC -- similar to Apple's Continuity features. A feature called Calls allows you to place and answer Android calls on your PC (and you can connect your iPhone to your Windows PC as well). A dictation feature lets you easily record ideas.
Microsoft's digital assistant Cortana is also available on Windows 10 PCs. The OS also integrates better with Microsoft OneDrive and other cloud tools.
Read more: 11 easy Windows 10 tricks you didn't know about
The most recent Windows 10 November 2021 update includes features like new Wi-Fi security standards and other changes aimed at management and security.
Unlike previous versions of the OS, Windows 10 offers automatic updates by default, to keep systems more secure. (You can turn these off if you want to, by going to Windows Update Settings > Advanced Options and changing from Automatic to another option in the drop-down menu.)
Read more: 5 Windows 10 features that beat what you had on Windows 7
How do I upgrade from Windows 7 to Windows 10? How much will it cost me?
You can buy and download Windows 10 via Microsoft's website for $139. While Microsoft technically ended its free Windows 10 upgrade program in July 2016, as of November 2021, CNET has confirmed the free update is still available for Windows 7, 8, and 8.1 users. Check out our step-by-step guide on how to upgrade to Windows 10 for free.
Read more: 20 pro tips to make Windows 10 work the way you want (free PDF) (TechRepublic)
Virtual private networks have become a cornerstone privacy tool in the fight against pervasive data tracking, whether you're using a device with MacOS or Windows. While there are a growing number of VPNs to choose from, even the best still struggle to secure a key weakness in your privacy protection: your IPv6 address.
IPv6 is the successor to the traditional IPv4 -- what you would normally consider your IP address -- but IPv6 can also reveal potentially personally identifiable information about your location. That's why our top VPN recommendations all include some form of IPv6 leak protection. Sometimes, however, if your other software or your own device's configurations conflict with your VPN, you may not be able to get the full benefit of that IPv6 protection.
Because disabling IPv6 on a Windows takes just a few clicks, finding tutorials for the process is just a quick internet search away. While it takes less than 5 minutes to disable an IPv6 on a MacOS device, the process takes a few more steps. And the method you use will depend on your device's configuration.
Here are the two most common methods for disabling IPv6 on a MacOS, right along with the steps you can take to re-enable it if you change your mind.
Read more: All the VPN terms you need to know
How to Disable IPv6 in MacOS in System Preferences
1. From your Apple menu, open System Preferences.
2. Click the Network icon that's shaped like a globe. A new window will open. On the left side of the window, you'll see a list of the networks you've previously connected to, including the one you're currently connected to which will have a green dot on its left. Click it to highlight the network.
3. Click the Advanced button at the bottom of the window. A new window will open with several tabs near the top. Among those, select TCP/IP.
4. In the TCP/IP tab, you'll see two drop-down menus. Click the dropdown menu beside Configure IPv6, and select Off.
5. In the bottom right corner of the window, click OK. Once the TCP/IP window closes, and you're back at the Network window, click Apply in the bottom right corner and then close the window.
If your version of MacOS doesn't have an option labeled Off in the drop-down menu beside Configure IPv6, you can manually disable IPv6 through your MacOS Terminal.
Read more: You Need to Be Using a VPN on Your Phone. Here's How to Set it Up in Under 10 Minutes
How to Disable IPv6 on MacOS in Terminal
These steps will lead through disabling IPv6, but you'll also find steps to re-enable it in case you change your mind.
1. Open a Finder window and click Applications.
2. Scroll down to a folder labeled Utilities. Click to open it, then select Terminal.
3. Once you've opened Terminal, a small black window will open. Type the following command into the window and Terminal will show you a list of all your current network types:
sudo networksetup -listallnetworkservices
You may or may not be prompted by Terminal to enter a password. That'll be the one you have to type every time you wake up your Mac. Once you enter it, your list of network types will appear.
4. Find the type of network you're currently using. It's likely you're using either Wi-Fi or Ethernet right now to read this. We're going to tell the computer to disable IPv6 on this particular type of network, however that network is labeled in your list.
If you're connected via Wi-Fi, type the following: sudo networksetup -setv6off Wi-Fi
5. You won't see any confirmation that you've turned IPv6 off but Terminal may again ask you for your password. Once you've entered your password correctly, IPv6 will be disabled. You can close Terminal and you're done.
If you change your mind for any reason and need to re-enable IPv6 on your MacOS, you can go through the same process with a small change to the command. Just open Terminal and type the following command: sudo networksetup -setv6automatic Wi-Fi.
For more tools to enhance your privacy when working with Apple devices, check out our list of the best Mac VPNs for 2022.