Taking of sleeping beauty what put sleeping beauty to sleep how to get beauty sleep i need my beauty sleep how to dress up as sleeping beauty get your beauty sleep the beauty has been sleep what is beauty sleep the real story behind sleeping beauty the real sleeping beauty beauty sleep set beauty sleep mattress

Beauty Sleep Is Real. Try These Tips to Sleep Your Way to Youth
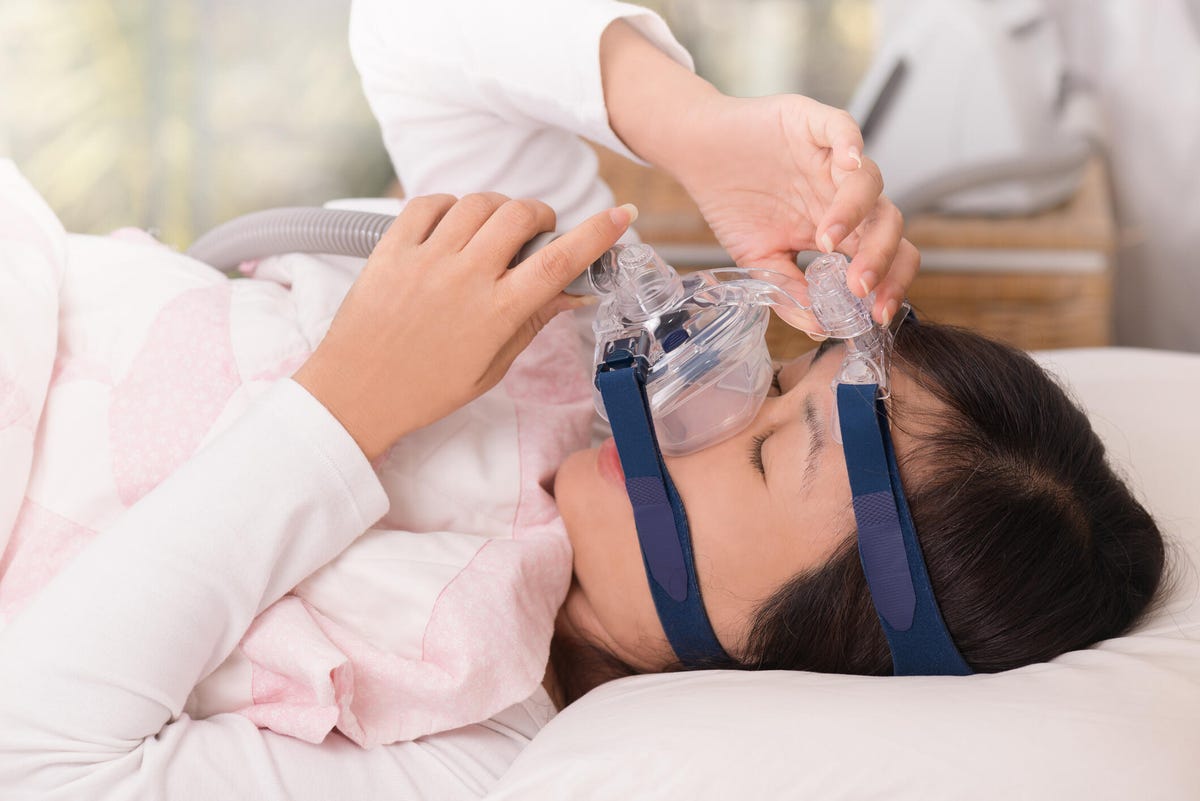
When you think about all the things that affect your skin, sleep isn't usually the first thing to come to mind. You may have heard that quality sleep is essential for our overall well-being, but did you know that it's also a big factor that impacts our appearance? However, it's not always easy for us to get those recommended 7 to 9 hours of beauty sleep. According to the Centers for Disease Control and Prevention, an estimated 70 million Americans suffer from chronic sleep disorders.
So, what does poor sleep do to your appearance and health? Here's what we know.
Read more: Fall Asleep Faster by Doing This Thing Right Before Bed
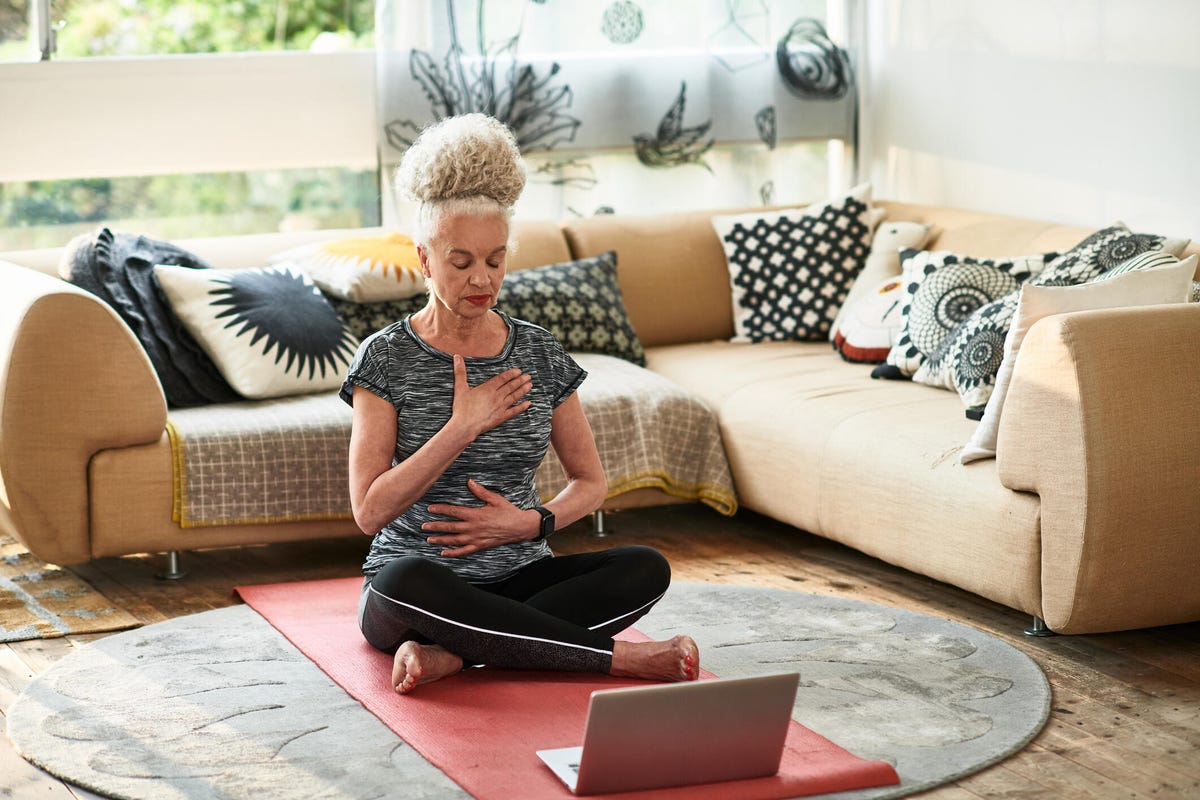
The science behind beauty sleep
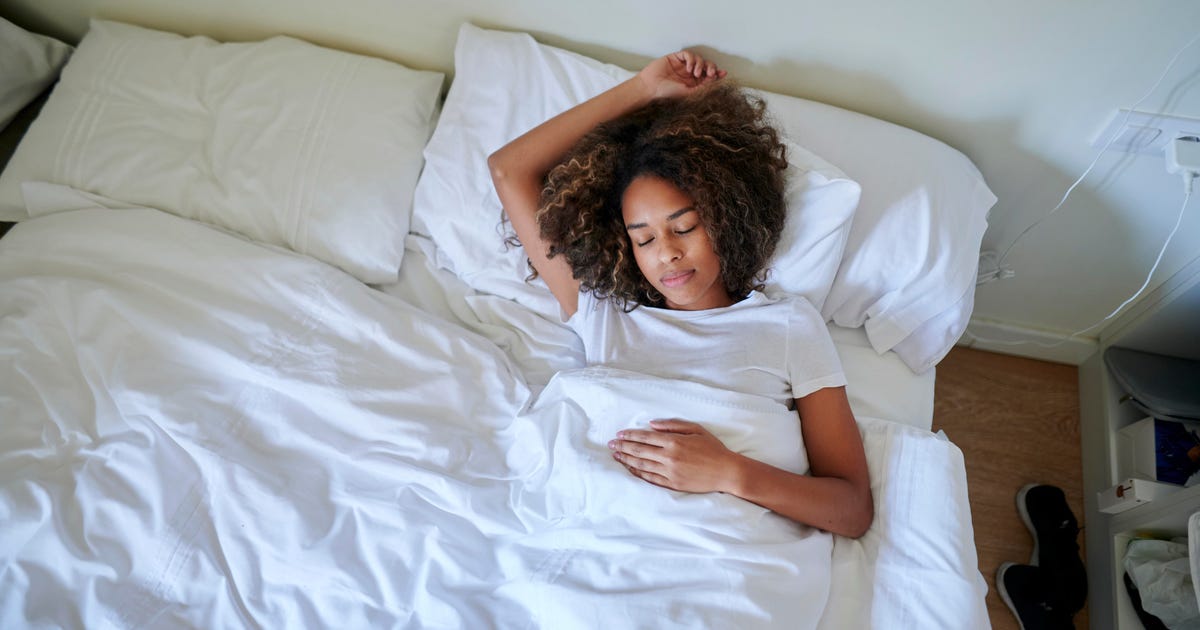
When you sleep, your body enters recovery mode and each stage of sleep is crucial to skin recovery. During varying stages of sleep, the body produces multiple hormones including human growth hormone, melatonin and cortisol. These hormones play critical roles in recovery including repairing skin from daily damage, keeping our skin looking youthful and protecting your skin from free radicals that can cause damage to cells.
When sleeping, every hour counts. If you're having trouble getting the recommended hours of sleep, check out our guide on how to get better sleep.
How sleep deprivation affects your appearance
A 2017 study found that lack of sleep has the potential to negatively affect your facial appearance and may decrease others' willingness to socialize with the sleep-deprived person. Here's how not getting enough shut-eye affects your appearance.
Skin: Let's start with the basics. Lack of sleep affects your appearance by making you look tired. You know, bags under the eyes and all that jazz. Not only does poor sleep affect your skin, but also its normal functions -- like collagen production. Excess cortisol due to the stress of sleep deprivation is a common cause of acne.
Hair: Lack of sleep also impacts your hair growth since collagen production is affected when we don't get enough sleep, making your hair more prone to thinning or hair loss. Sleep deprivation can also cause stress on the body and increase cortisol, which can lead to hair loss.
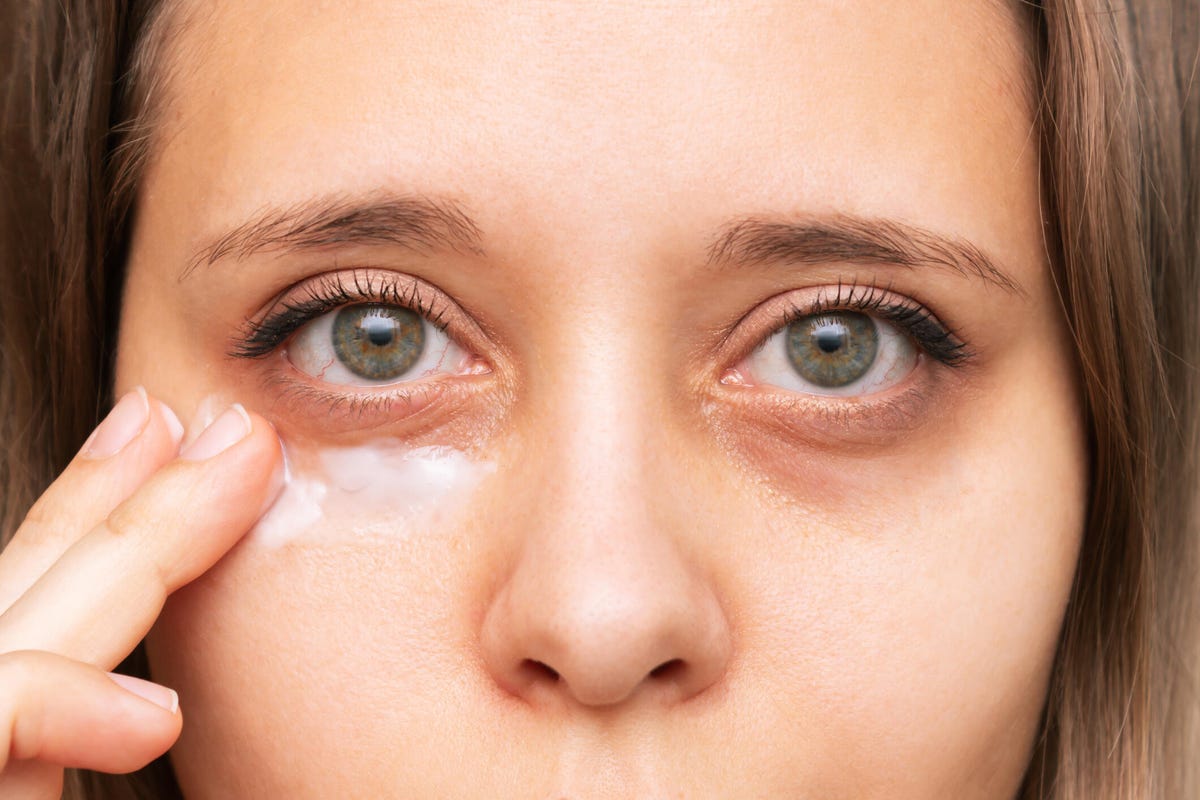
Eyes: Just one night of poor sleep is enough to cause dark circles under your eyes. Lack of sleep can cause the blood vessels around your eyes to dilate and create dark circles or puffiness. Depending on your natural skin tone, these dark circles may be visible as shades of blue, purple, black or brown.
Read more: How to Fall Asleep in 10 Minutes or Less
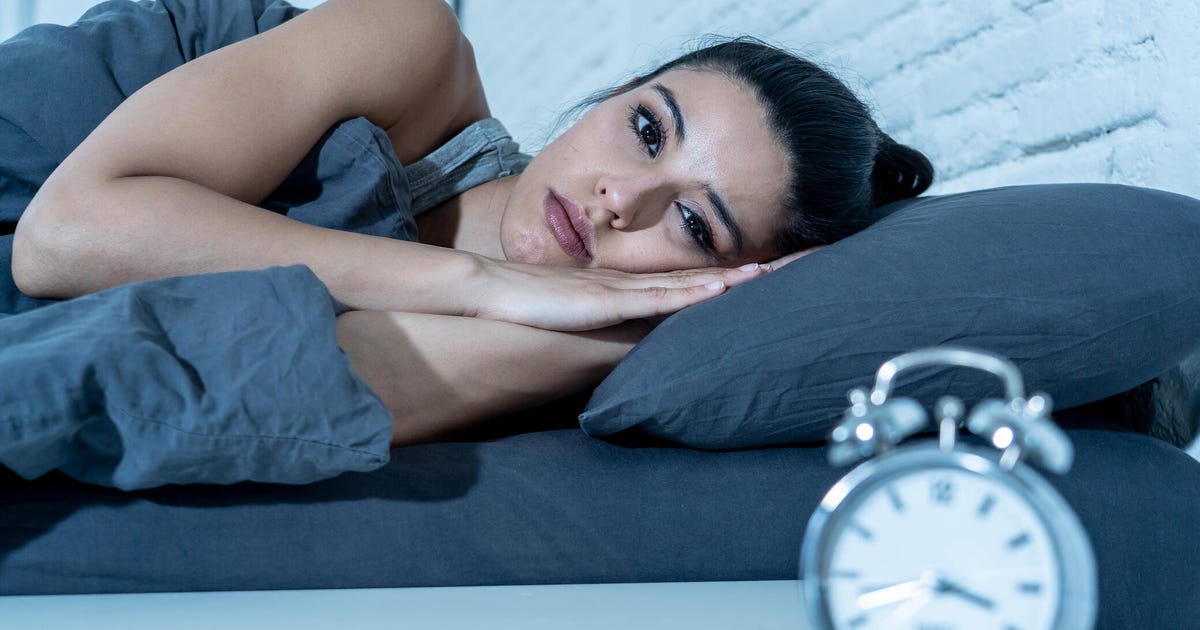
Lack of sleep affects your body and mind
Sleep deprivation goes beyond affecting the way you look. Lack of sleep can also affect the way your body and mind work.
Impact of poor sleep on your body
Prolonged deprivation can make you feel sluggish and fatigued, which means less energy to get you through the day. Other studies have linked lack of sleep to an increased risk of heart disease, stroke, diabetes and high cholesterol due to the higher levels of cortisol.
Impact of poor sleep on your mind
Studies show that sleep deprivation can affect memory function and emotional stability, as well as impair decision-making skills. Poor sleep can hurt your performance at work, lead to mood swings and enhance emotions like anger and sadness.
Data from a 2021 study found that people ages 50 through 60 who got 6 hours or less of sleep were at greater risk of developing dementia. Those who got less sleep than the recommended seven hours, were 30% more likely to be diagnosed with dementia later in life than those who got the recommended hours of sleep.
The link between lack of sleep and weight gain
In addition to how you look, how you sleep can also impact your weight. Sleep deprivation has been linked to weight gain and a higher risk of obesity in men and women. Similarly, people with severe sleep apnea tend to experience increased weight gain.
One study that followed 68,000 middle-aged American women for 16 years found that women who slept five hours or less a night where 15% more likely to become obese over the course of the study than those who slept seven hours.
How to get a good night's sleep
Ready to catch up on some beauty rest? Follow these tips for sleeping for better skin:
How to build a good routine? Here are four steps to try:
1. Go to bed at approximately the same time each night.
2. Wake up at approximately the same time every morning.
3. Limit your naps to 30 minutes or less.
4. Maintain a regular sleep schedule on weekends.
Read more: How to Create the Ideal Environment for Better Sleep
The information contained in this article is for educational and informational purposes only and is not intended as health or medical advice. Always consult a physician or other qualified health provider regarding any questions you may have about a medical condition or health objectives.
Source